Last updated on August 26th, 2025 at 01:13 pm
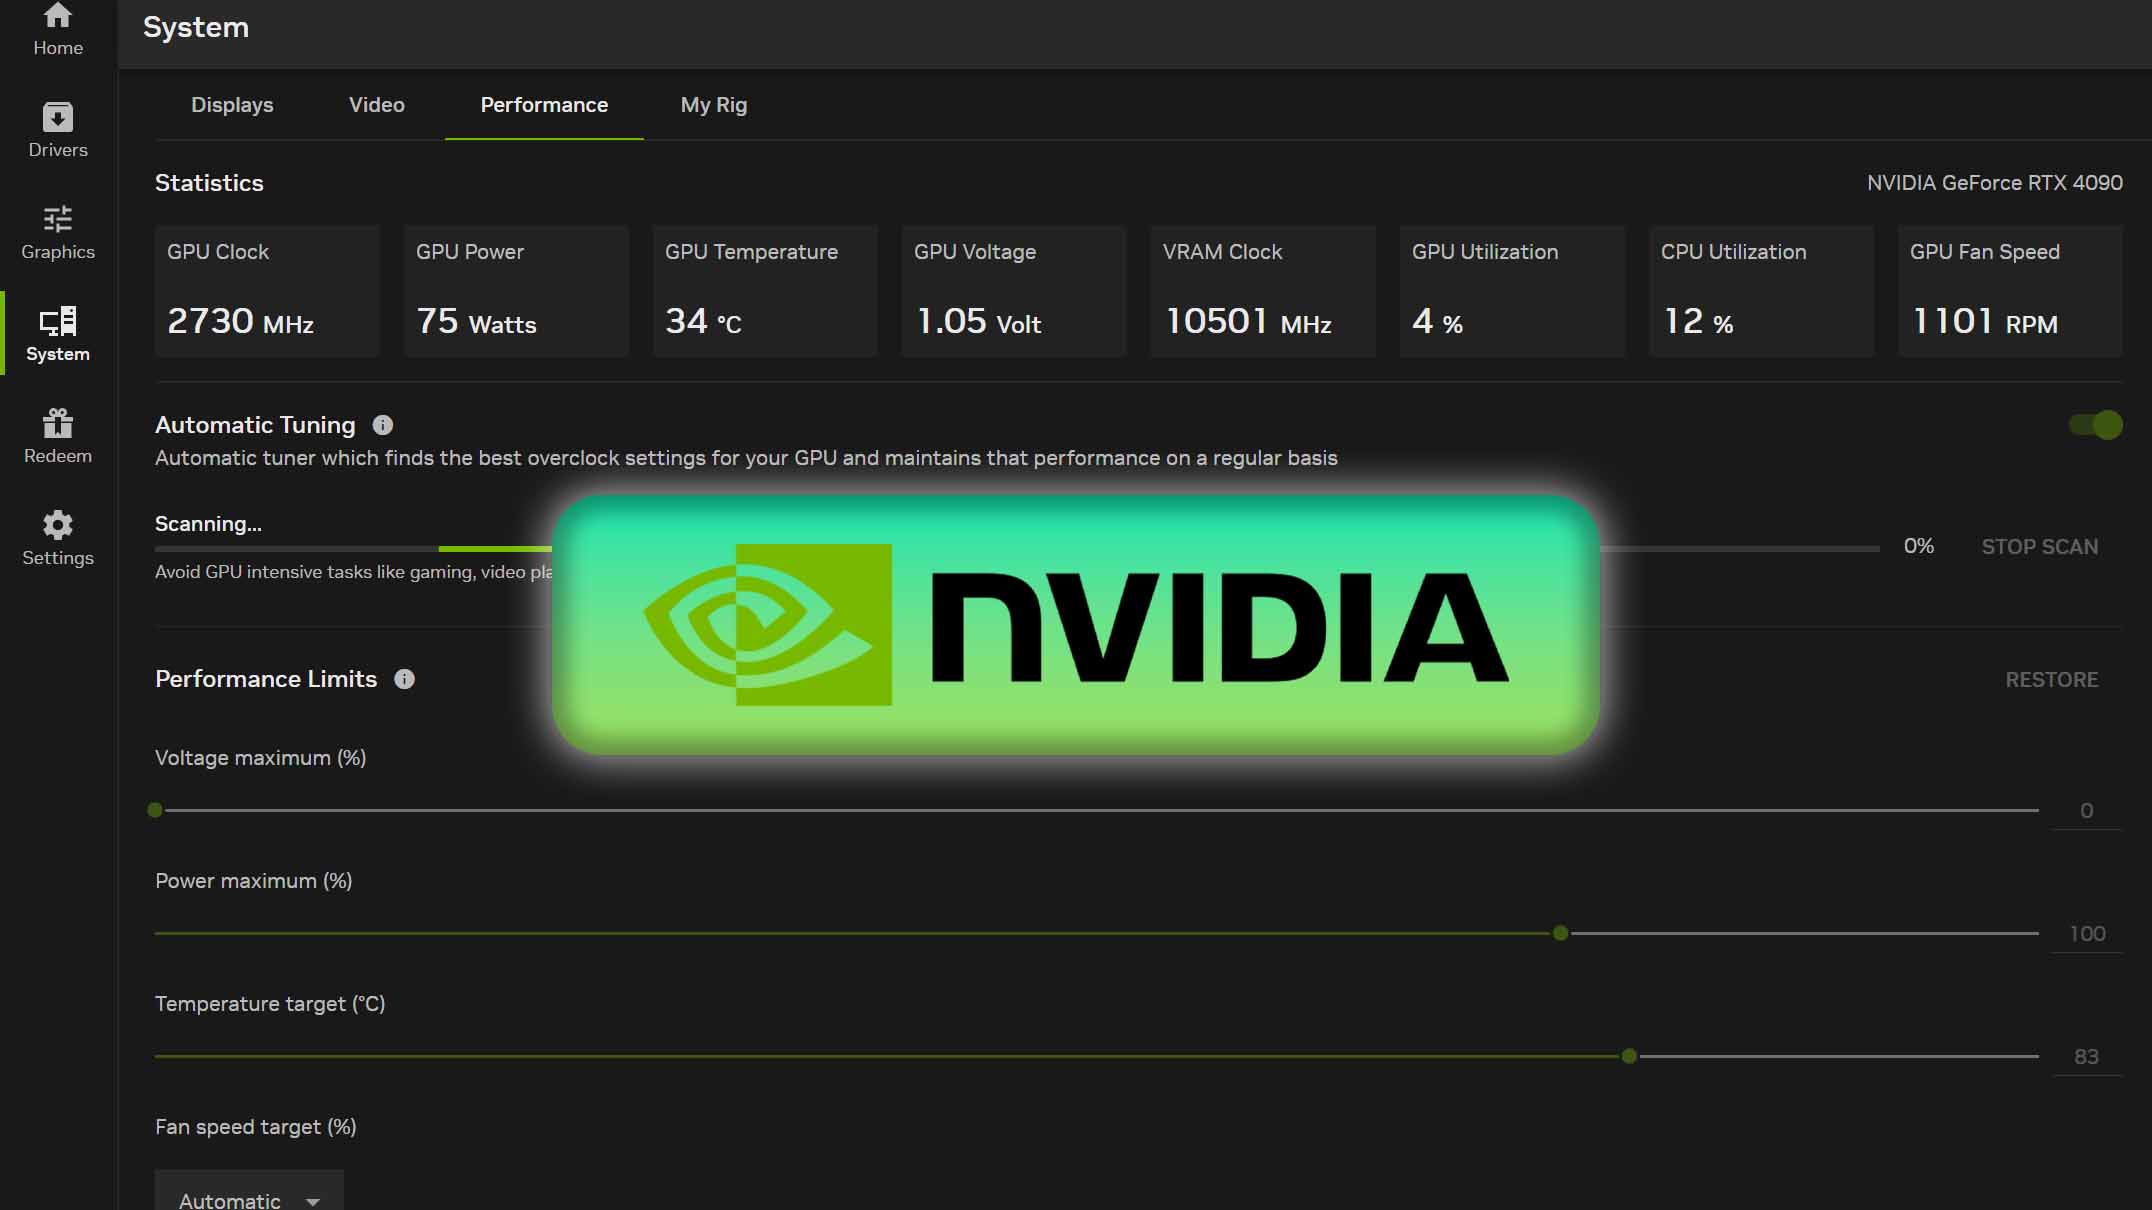
The NVIDIA app is useful for many gamers because it allows them to update their drivers and optimize their favorite PC games. But what if you are currently struggling with the NVIDIA app not opening on Windows? This can be a very irritating experience but don’t worry, you have come to the right place. In this tutorial, you will find out the best ways you can fix your NVIDIA app that’s not opening.
What Is The NVIDIA App?
Officially launched in November 2024, the Nvidia app is a unified application that replaces both GeForce Experience and the Nvidia Control Panel apps. The Nvidia app offers a much-improved user experience, providing quick access to essential apps such as ChatRTX, FrameView, Nvidia Broadcast, and GeForce Now. It also has significantly faster performance than the Control Panel and provides new exclusive features such as 4K 120 FPS gameplay recording.
How To Fix NVIDIA App Not Opening
Without further ado, here are the best ways you can fix your NVIDIA app not opening on Windows 11.
Restart NVIDIA Programs
The first way you can fix your Nvidia app not opening is by restarting all of your NVIDIA programs:
- Press CTRL + SHIFT + ESC to open Task Manager.
- Go to the Processes tab and scroll down until you find the NVIDIA app.
- Right-click NVIDIA app and select End Task.
- Next, repeat these steps with each NVIDIA-related process.
- Close Task Manager and restart your PC.
Change NVIDIA Container Settings
Another reason why your Nvidia app is not opening is because of malfunctioning Nvidia containers. To fix it, you will need to change its settings:
- Press Win + R to open Run.
- Type services.msc, then press Enter.
- The Services window will now open. Scroll down until you locate NVIDIA Display Container LS.
- Click NVIDIA Display Container LS, then change the Startup type from Manual to Automatic.
- If the Service status is Stopped, click Start.
- Next, go to the Log On tab, then select Local System account.
- Under Local System account, check Allow service to interact with desktop.
- Click Apply, then OK to save your changes.
- Repeat these steps with NVIDIA FrameView SDK service and NVIDIA LocalSystem Container.
Update NVIDIA Drivers
Outdated drivers can lead to issues that can cause your NVIDIA app to not open. To update your NVIDIA drivers, follow these ins:
- Press Win + X to open the Quick Link menu.
- Click Device Manager.
- The Device Manager window will now open. Expand Display adapters.
- Right-click your NVIDIA GPU, then select Update driver.
- Click Search automatically for updated driver software to update your NVIDIA GPU’s drivers.
- When it’s finished, close the window.
Clear NVIDIA App Cache
Deleting your Nvidia app’s cache will help give the program a clean slate, and can fix many problems such as your Nvidia app not opening:
- Press Win + R to open Run.
- Type %localappdata%, then press Enter.
- The Local App Data folder will now appear. Scroll down until you see NVIDIA Corporation, then click it.
- Open the NVIDIA app folder.
- Right-click CelCache, then select Delete.
| If you are having issues deleting this folder, make sure to force-quit the Nvidia app. To do this, open Task Manager, right-click the NVIDIA app, and select End task. |
Reinstall NVIDIA App
Reinstalling the Nvidia app is a great way to fix not opening issues.
- Press Win + X to open the Quick Link menu.
- Click Apps & Features.
- Scroll down until you see the NVIDIA app.
- Click NVIDIA app, then select Uninstall.
- Once the uninstallation process is complete, download the NVIDIA app.
- Once it’s downloaded, select the NVIDIA app executable file to reinstall it again.
Clean Install Your Drivers
Clean installing your NVIDIA GPU drivers is one of the best ways to fix your Nvidia app that won’t open. To find out how to do this, read the guide ‘How to Clean Install AMD/NVIDIA/Intel Graphics Drivers Using DDU’.

