Last updated on February 12th, 2025 at 01:25 pm
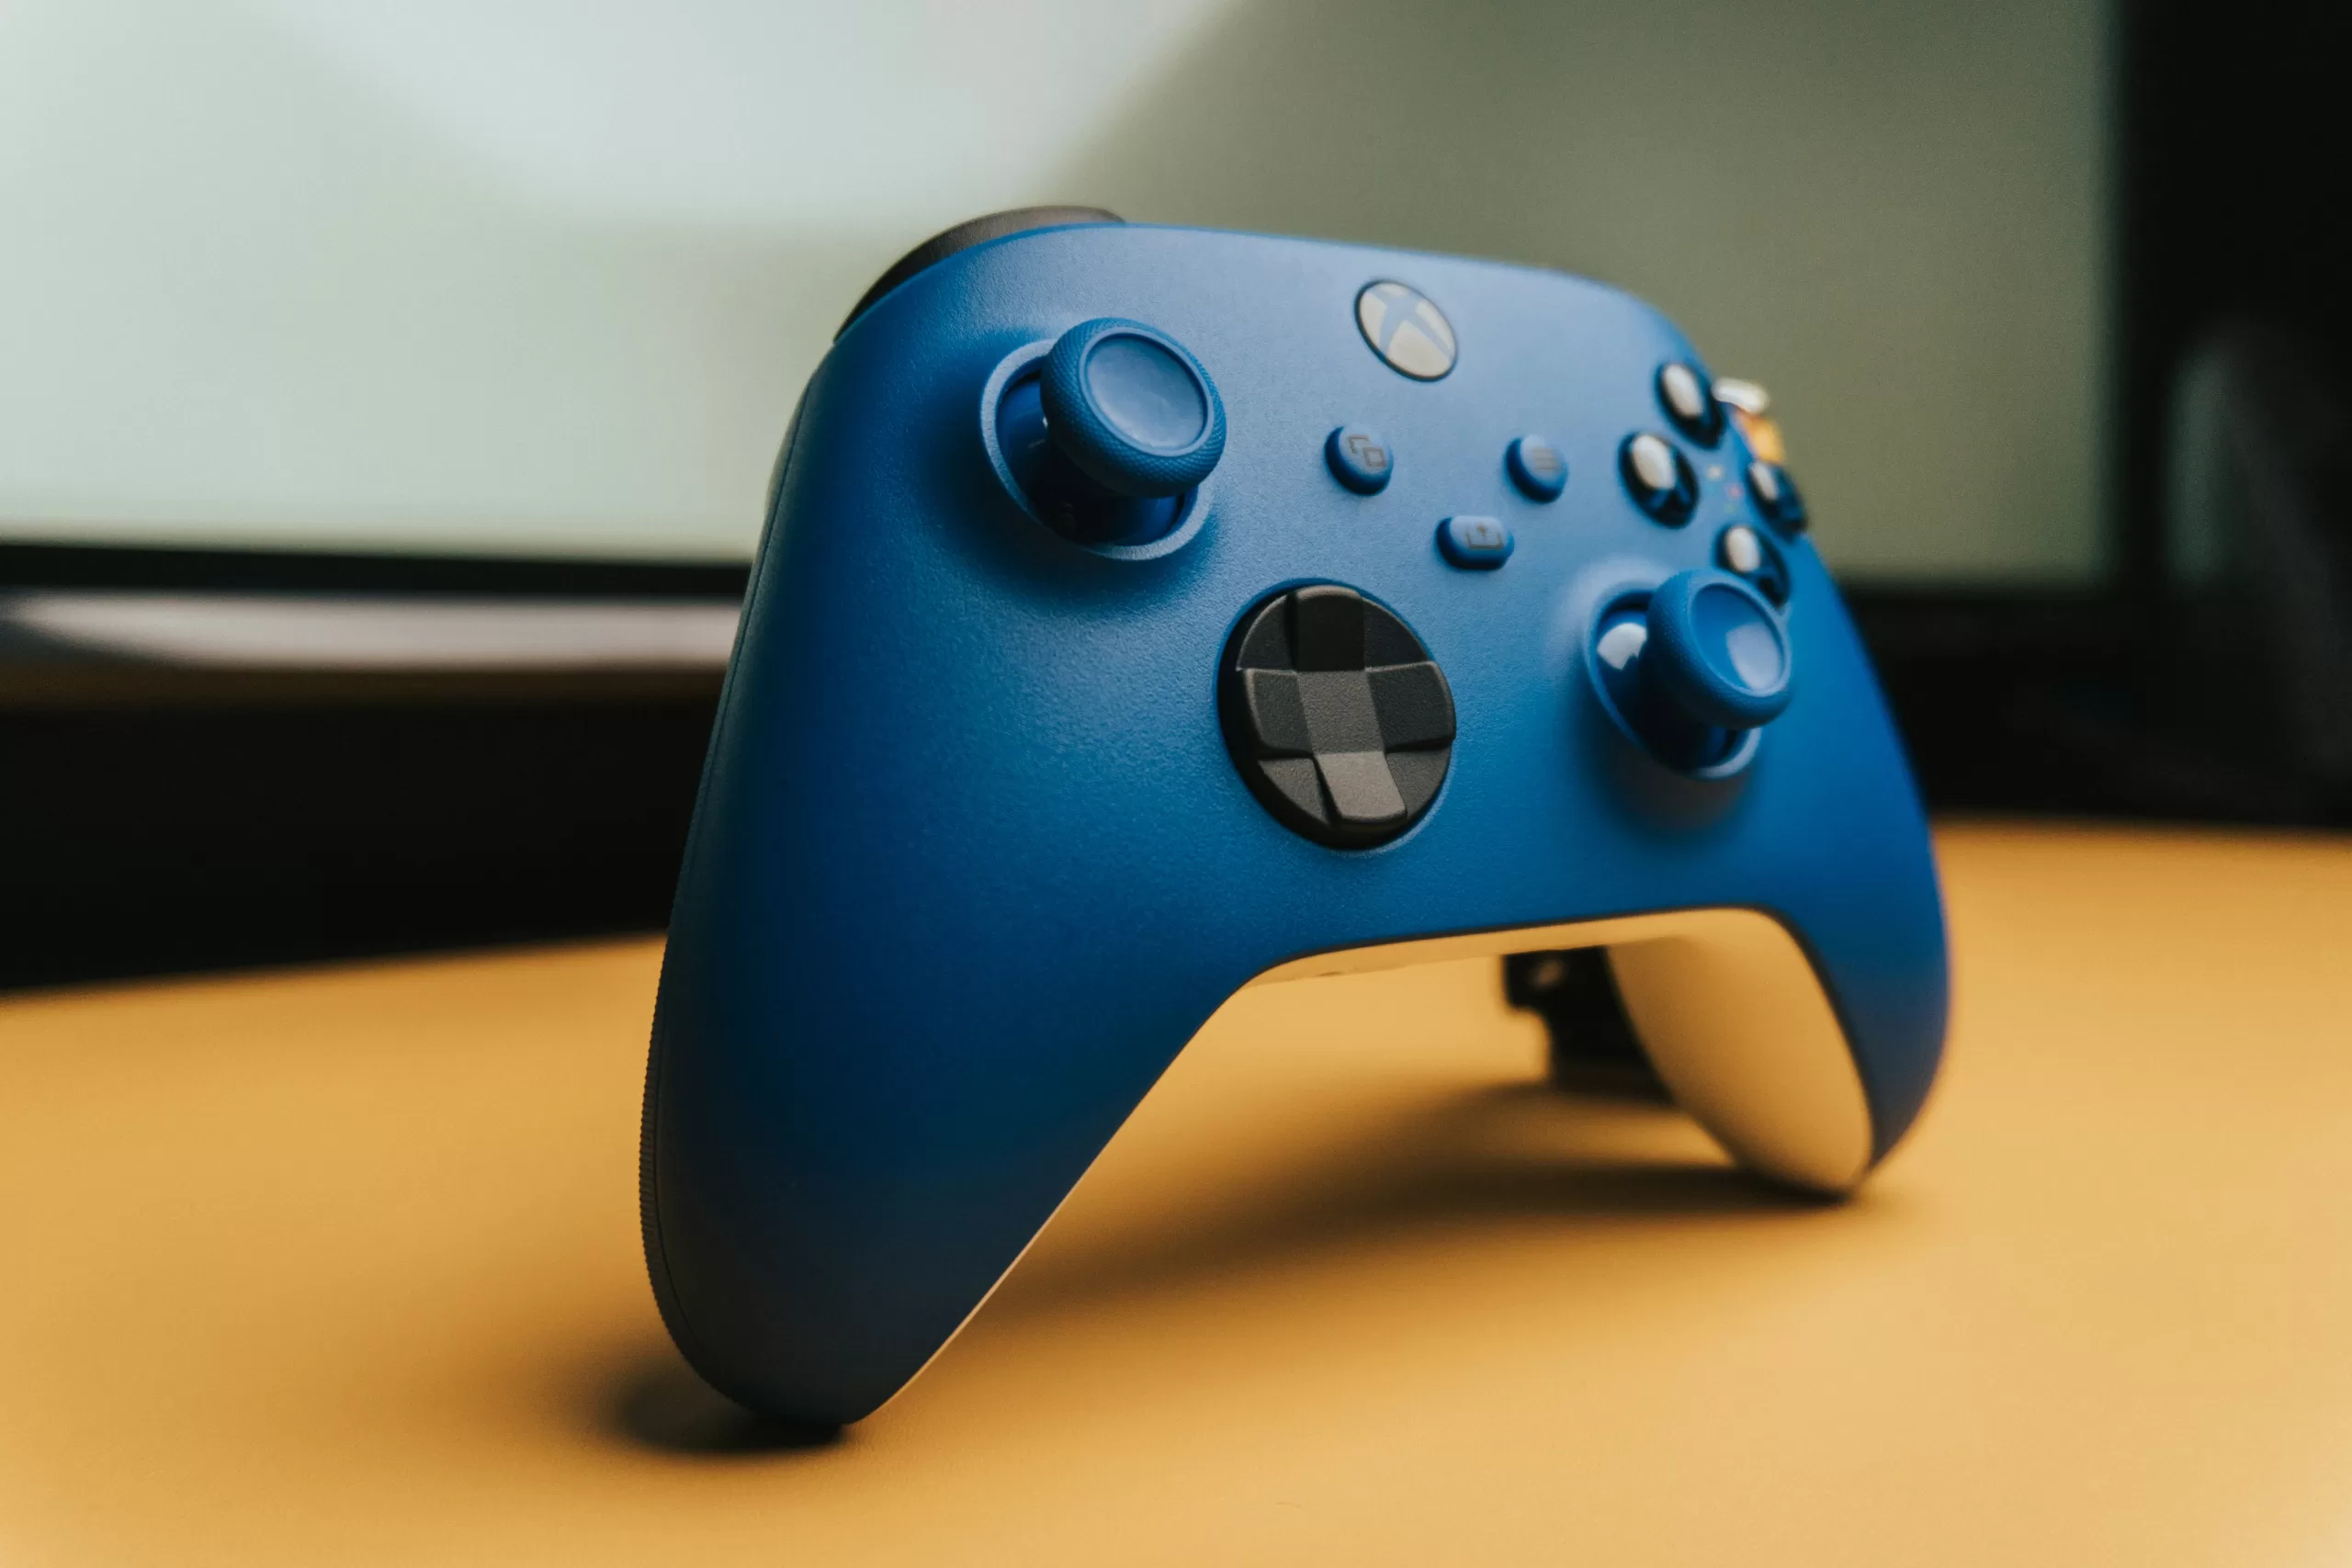
Many of us have experienced stick drift on our Xbox Series controller, and this can be very frustrating when it happens in the middle of your favorite game. We will soon learn the reason stick drift occurs, and later on, we will find out how to fix it easily.
What Is Stick Drift?
Stick drift happens when the analog sticks register a movement in the game, even when you are not moving it, because the analog stick doesn’t align itself in the center perfectly. Gamers most commonly experience stick drift from the left analog stick, which you usually use when moving your character, cursor, or steering your car. However, the right analog stick can also suffer from drifting issues.
What Causes Stick Drift on Xbox Series Controllers
When Xbox controller drift occurs, these are the top two leading causes:
- Wear & Tear: Every controller stick consists of a sensor component with a moveable shaft, a rubber or plastic component that snaps onto the shaft, and two springs that help pop it back to the center whenever you remove your thumb. When these components get worn out, this can be a big factor in the reason you have stick drift.
- Dirt & Debris: One of the most common reasons that may cause your Xbox Series Controller to have stick drift is the build-up of dirt & debris within your controller. No matter how clean you think you might be, you can still get dust, debris, and dirt in the air on your controllers from just regular use, along with the sweaty palms that we have after a heavy gaming session.
Is Your Controller Under Warranty?
While stick drift more often affects older controllers, it can strike suddenly in relatively new ones as well, especially if you use the controller heavily. One reason this can happen is if you play a lot of games, or the controller is shared amongst many people.
The first thing you should do is find out whether your controller is still under warranty. If it’s the controller that came with your console, be aware that there is still a chance it’s covered by the console’s warranty period. This usually tends to be a one-year warranty from the date of purchase. If the controller was purchased separately, look for your receipt and check your coverage.
Calibrate Your Controller
If you’re using your controller to play games on a PC, you can use the built-in calibration tool to fix stick drift. To do this, follow these steps:
- Launch Control Panel by typing in “control” in the Windows search bar, then click on Devices and Printers.
- To reset your calibration data, right-click on the controller you use and, under the “Settings” tab, click on the “Reset to default” button.
- If you want to recalibrate your controller again, head back to Control Panel > Devices and Printers, then right-click on your controller and hit the “Calibrate” button on the Settings tab.
You might want to test your controller by playing a game to make sure that incorrect calibration data wasn’t the reason for your issues.
- Launch Control Panel by typing in “control” in the Windows search bar, then click on Devices and Printers.
- To reset your calibration data, right-click on the controller you use and, under the “Settings” tab, click on the “Reset to default” button.
- If you want to recalibrate your controller again, head back to Control Panel > Devices and Printers, then right-click on your controller and hit the “Calibrate” button on the Settings tab.
Try Adjusting The Deadzone in Game Settings
Increasing your controller’s dead zone effectively tells it to ignore certain inputs closest to the neutral point. When stick drift starts to happen, it will usually begin as small unwanted movements very close to the neutral, or center position of the stick. By increasing the dead zone, you can ignore these inputs and effectively counter the stick drift.
One downside of doing this is that you will reduce the controller sensitivity. You’ll have to make bigger inputs to register your stick input, which can make fine controls a little harder. This may be worth trying to regain the use of a controller that’s slowly on the way out, but you should try to limit how much you increase the dead zone to avoid making the controls unresponsive.
Update Your Xbox Wireless Controller
One of the easiest ways to see whether a system error is causing your Xbox controller to have stick drift is by updating it.
When you update your Xbox Series controller, you ensure that your controller has the latest potential patches for issues and glitches from Microsoft. To do this on your Xbox Series X|S, access the Devices & connections settings, and select the option for Accessories.
If you are gaming on a PC, you can update your controller using the Xbox Accessories app from the Microsoft Store. You can do this first by making sure your Xbox Series Controller is connected with a USB cable or the Xbox Wireless Adapter. If an important update is found, you’ll see the message Update Required. Click it to install the update.
Reset Your Xbox Wireless Controller
- Hold the Xbox button at the center of the controller for around five seconds. Immediately release the Xbox button once it goes dark.
- Once the Xbox button is off, leave your Xbox controller for a few seconds and then press the Xbox button once more to reconnect your controller to your Xbox.
Repair Xbox Controller Stick Drift by Reset Analog Stick
Resetting your controller stick is a simple, yet easy way to fix stick drift on your Xbox Series controller. You can do this by pushing down each joy stick with your thumbs, then rotating the joy sticks counter clock wise around the border at the same time.
Repeat this about three times, then do it again, this time rotating around its border in a clock wise position. This is going to potentially move any dust, dirt, or build-up from where the analog stick experiences drift.
Fix Xbox Controller Stick Drift Using Rubbing Alcohol
Before trying this, make sure that your controller is completely off by removing the batteries from the controller. You will also need to have some cotton swabs and isopropyl rubbing alcohol (70% or less) available:
- Lightly soak a cotton swab with rubbing alcohol, and use it to clean around the base of the analog stick. The alcohol will remove any lingering dirt and kill bacteria in the process.
- Press the joystick in multiple directions to expose the corners of the joystick base, then clean as much of it as you can.
- Wait for the alcohol to completely dry before reinserting the batteries and powering it back on.
As you clean around the controller, you may find that doing it once won’t be enough for some areas. If that’s the case, clean the analog stick again with a new cotton swab lightly soaked in isopropyl alcohol.
Repair Xbox Wireless Controller Stick Drift With Canned Air
Another way you can fix this issue is by using a can of compressed air. Before doing this, make sure that your Xbox Series Controller is turned off:
- Place the air tube for the canned air can near the analog stick’s base, and spray compressed air.
- As the air hits the base and crevices of the analog stick, slowly move the stick around to free up any trapped dirt that’s stuck.
After doing this a few times, the canned air should be able to dislodge any potential dirt & debris that’s causing the stick drift issues with your Xbox Series controller.
Best Xbox Accessories
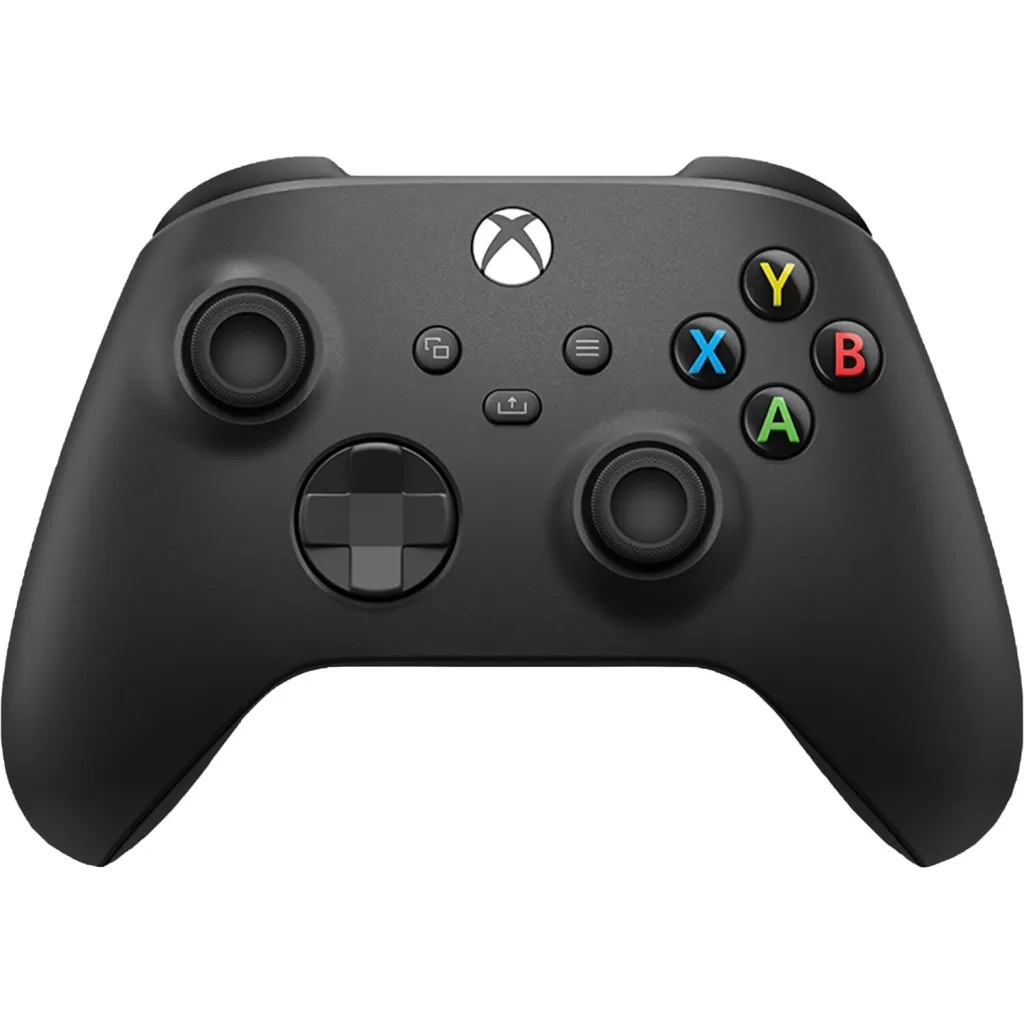
Best Gaming Controller – Xbox Wireless Controller
- Hybrid D-Pad
- 3.5mm Headphone Jack
- Share Button
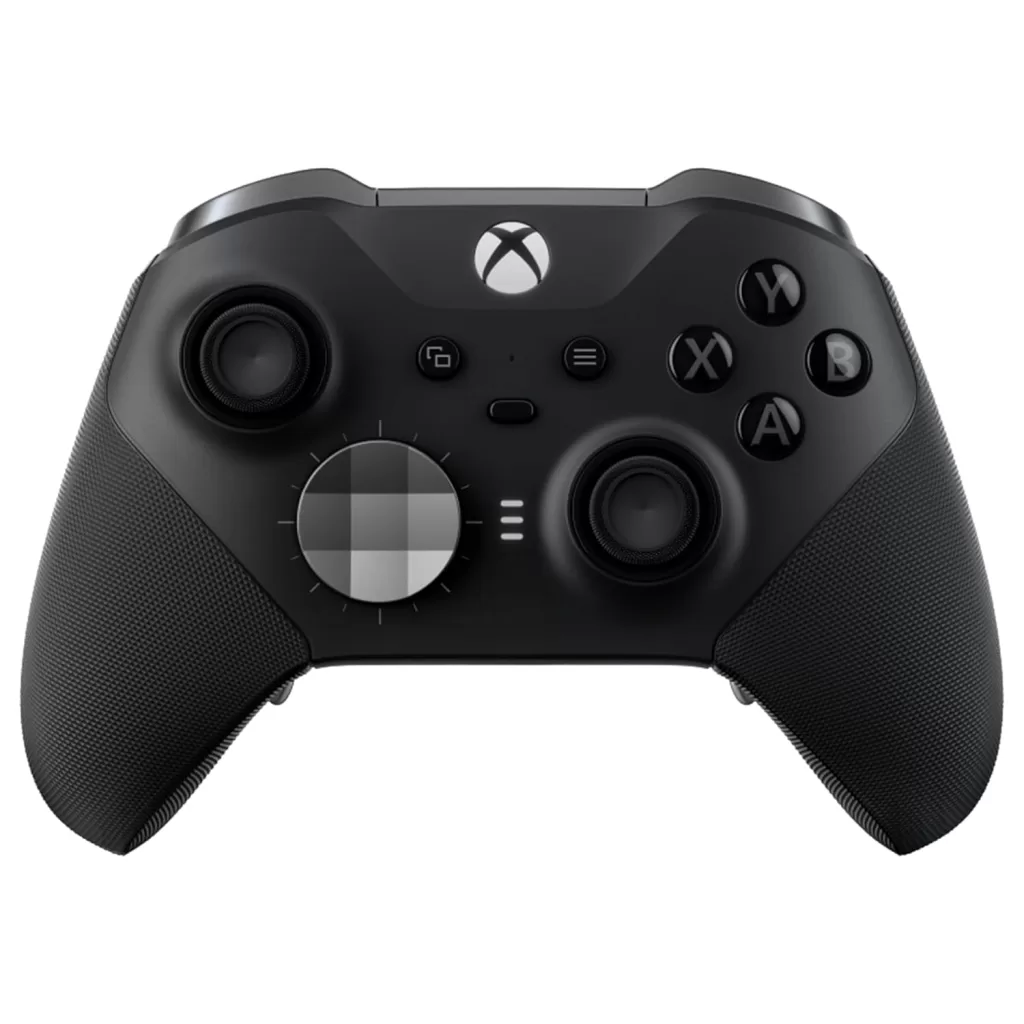
Best Premium Controller – Xbox Elite Series 2 Wireless Controller
- Up To 40 Hours Of Rechargeable Battery Life
- 3 Custom Profiles
- Swappable D-Pad, Paddles, & Thumbstick Toppers
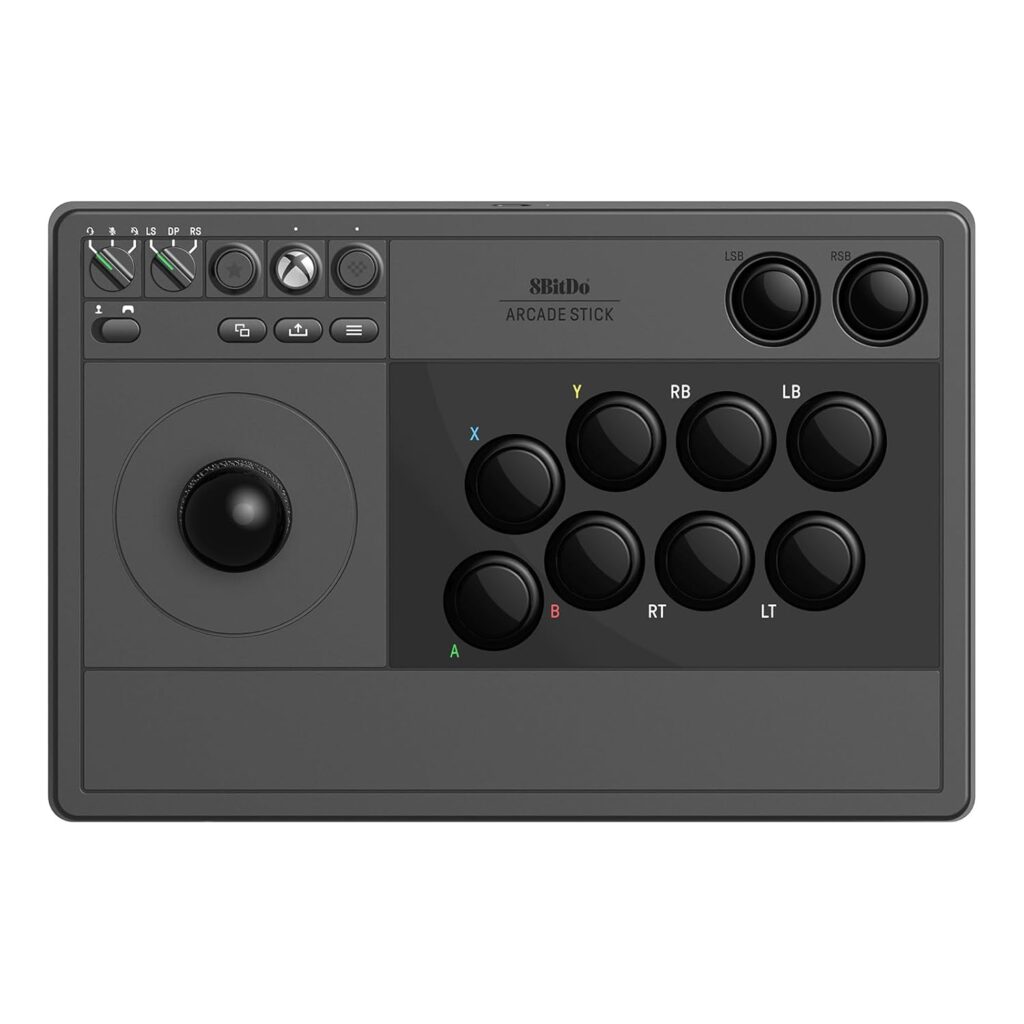
Best Arcade Stick – 8Bitdo Wireless Arcade Stick
- 30 Hours Battery Life With 4 Hours Charging Time
- Wireless 2.4G Or Wired USB Connectivity
- Fast-Mapping And Profile Setting Buttons
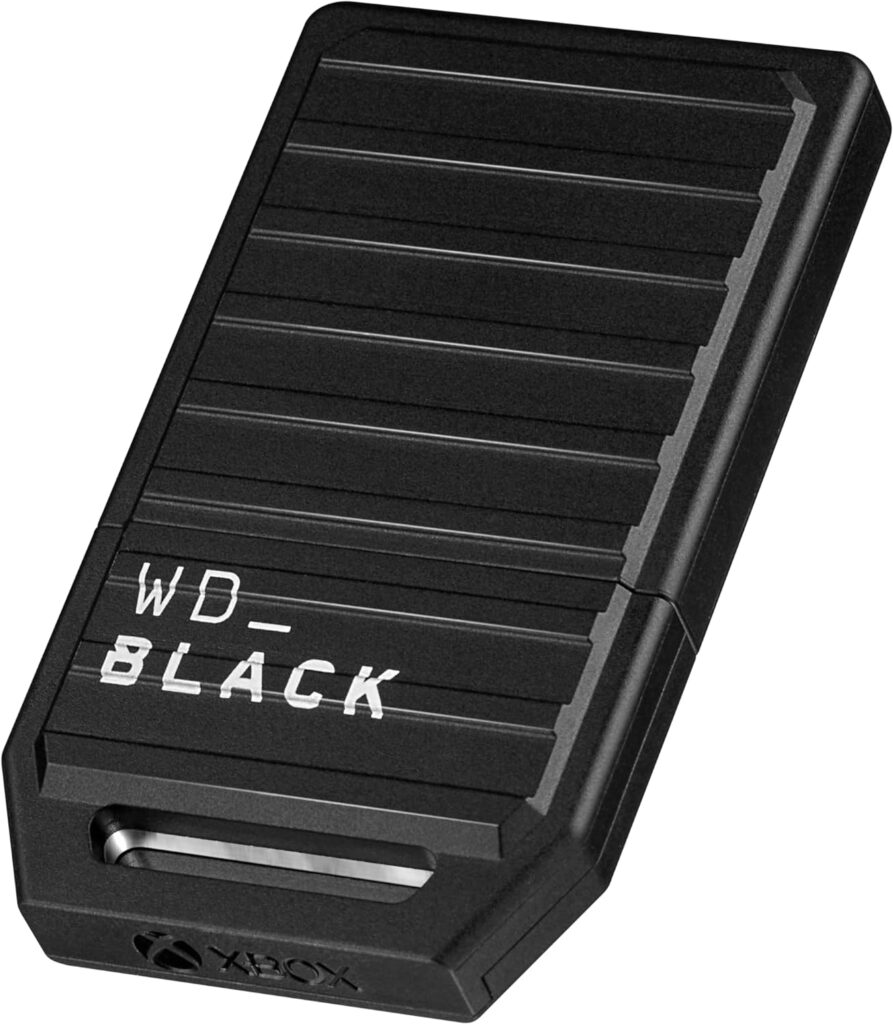
Best Expansion Card – WD_BLACK C50
- Compatible With Xbox Velocity Architecture
- Plug-And-Play Connectivity
- Capacities Up To 2TB


