Last updated on February 12th, 2025 at 01:31 pm
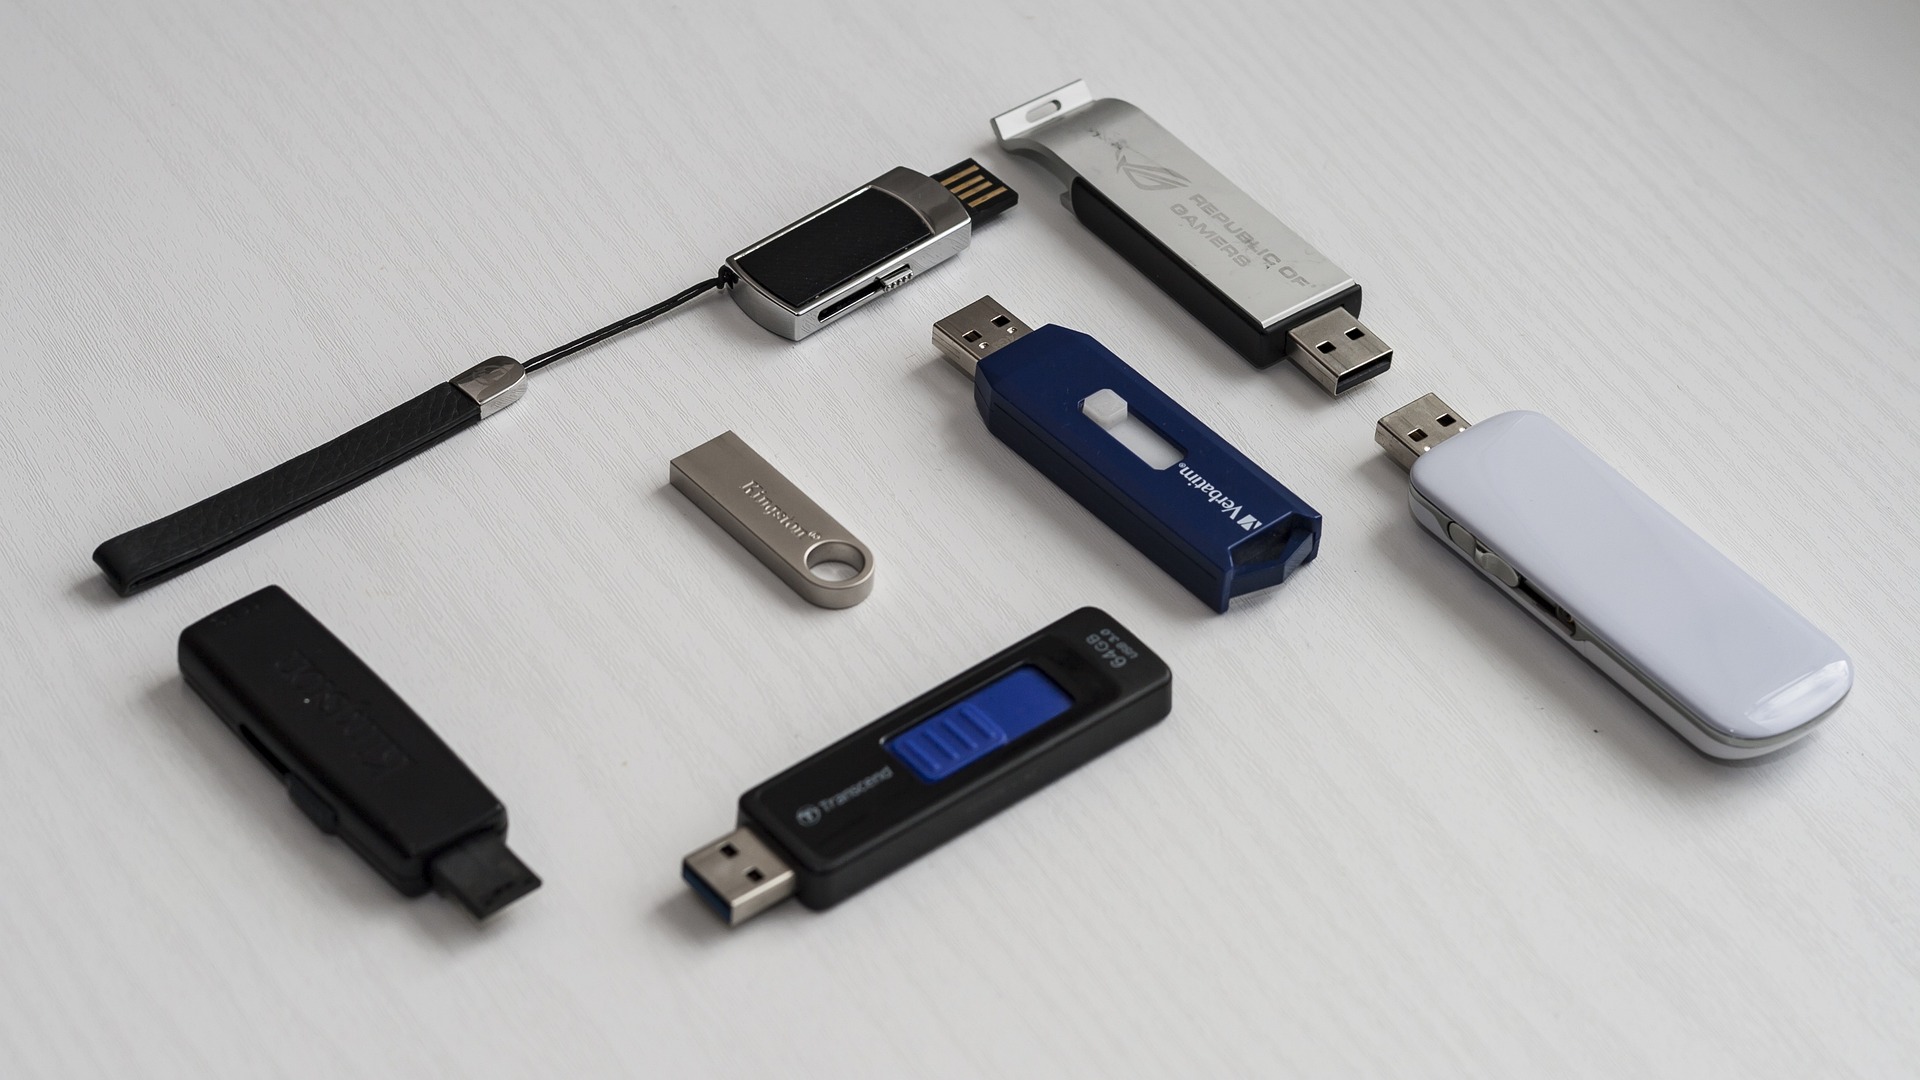
Using DVDs or CDs to install or repair your operating system can feel very outdated nowadays. This is why creating a bootable USB drive is very convenient because you can have a set of flash drives that contain your favorite operating systems.
In this tutorial, you will learn step-by-step how to make bootable USB drives using a fantastic tool called Rufus. As soon as you finish reading this guide, you will know the process of understanding how bootable USB drives work, and how to make bootable USBs effortlessly.
What Is A Bootable USB Drive?
A bootable USB drive, or boot USB, is a flash drive that can be used to install and diagnose an operating system when a computer boots from that USB drive. This means your USB drive is used as the boot media, instead of your computer’s hard drive or other storage media.
System Requirements
Making a bootable USB with Rufus is a straightforward process, but there are some things you need to have ready before continuing:
- Minimum USB Free Space: Your USB drive needs to have at least 8GB of free space, so it can fit the ISO file of your preferred operating system and other additional files that are needed for the boot process. Make sure to use a reliable brand such as SanDisk for best results.
- An ISO Image: An ISO image is a single file that has all the files of an operating system that is required to create your bootable USB drive. You will need the ISO file of the Windows or another operating system so you can put it on the USB drive.
- Rufus: Rufus is a free software that can help create bootable flash drives easily for installing operating systems like Windows. Regardless of your tech skill level, Rufus easily helps you to make a bootable USB drive fast. You can download the free software Rufus from its official website. Scroll down to download the latest version available. When the download is complete, open the program to get started. If you receive a prompt, click Yes to permit Rufus to make changes to your PC.
By completing these preparations, you now have the required tools needed to create a bootable USB drive with Rufus. But before you do anything, make sure you have a blank USB drive plugged into your computer. You can lose your important data if you accidentally make your personal USB drive bootable.
Creating a Bootable USB Drive
When you plug your USB drive into your PC, Rufus will automatically detect it. Choose the flash drive that you want to use as a bootable USB by opening the dropdown menu named Device. Take a moment to verify again that this is the correct USB drive, as all data will be erased after the procedure is done.
Go ahead and click the SELECT button located next to the Boot selection area. Find and click the ISO file that you want to use for making the bootable USB, then click “Open” to load your preferred ISO image.
Setting Up Rufus
You might notice that Rufus has a lot of options that you can access to configure your flash drive. Don’t get overwhelmed, because using Rufus isn’t as complicated as it looks. Most of the settings that Rufus has will be left unchanged.
Select the partition scheme that you want to use for your system. Unless your computer is very old, you should select GPT, as this is what many modern computers use.
Choose Your File System
Choose the file system that you would like your bootable USB to have. You will have two options to choose from, NTFS (New Technology File System) & FAT32 (File Allocation Table 32) NTFS is the default file system that Windows uses, and can support files over 4GB, which is great for larger ISO files.
If you will use this bootable USB strictly for Windows PCs, choose NTFS. FAT32, in comparison, is an older file system that’s compatible with many operating systems besides Windows, such as MacOS and Linux. The drawback to this is that FAT32 doesn’t support big files over 4GB, due to its age. If you’re not sure what to use, you can just leave it at the default option, FAT32.
Final Steps
If you want to change the volume label name, feel free to do so, but this is completely optional. You can just use the default name for your bootable flash drive. All the other settings can be left at default as well, so when you are ready, hit the START button.
In a final warning, Rufus will warn you in a pop-up that all data on the USB drive will be destroyed.
This is the last chance you have to make sure that you don’t have any personal data on the flash drive you selected.
Once you click OK, Rufus will start the formatting process to create your bootable USB. This process will take a while, depending on how large the ISO file you’re using and how fast your USB drive is.
Rufus will now show a READY message as soon as the process is finished. This means that Rufus has successfully created your bootable USB drive. You can now close Rufus and safely eject your flash drive from your PC by right-clicking on the USB icon in the system tray and then selecting Eject. If you want to test your USB drive, you can restart your computer and select your USB drive in the BIOS settings.
Conclusion
Congratulations, you have now created a bootable USB drive using Rufus! This flash drive can be used to install or run the operating system of your choice that was inside the ISO file. By following these simple steps, you can now easily create bootable USB drives for various purposes, regardless if you are a beginner or a tech expert.


