Last updated on February 12th, 2025 at 01:29 pm
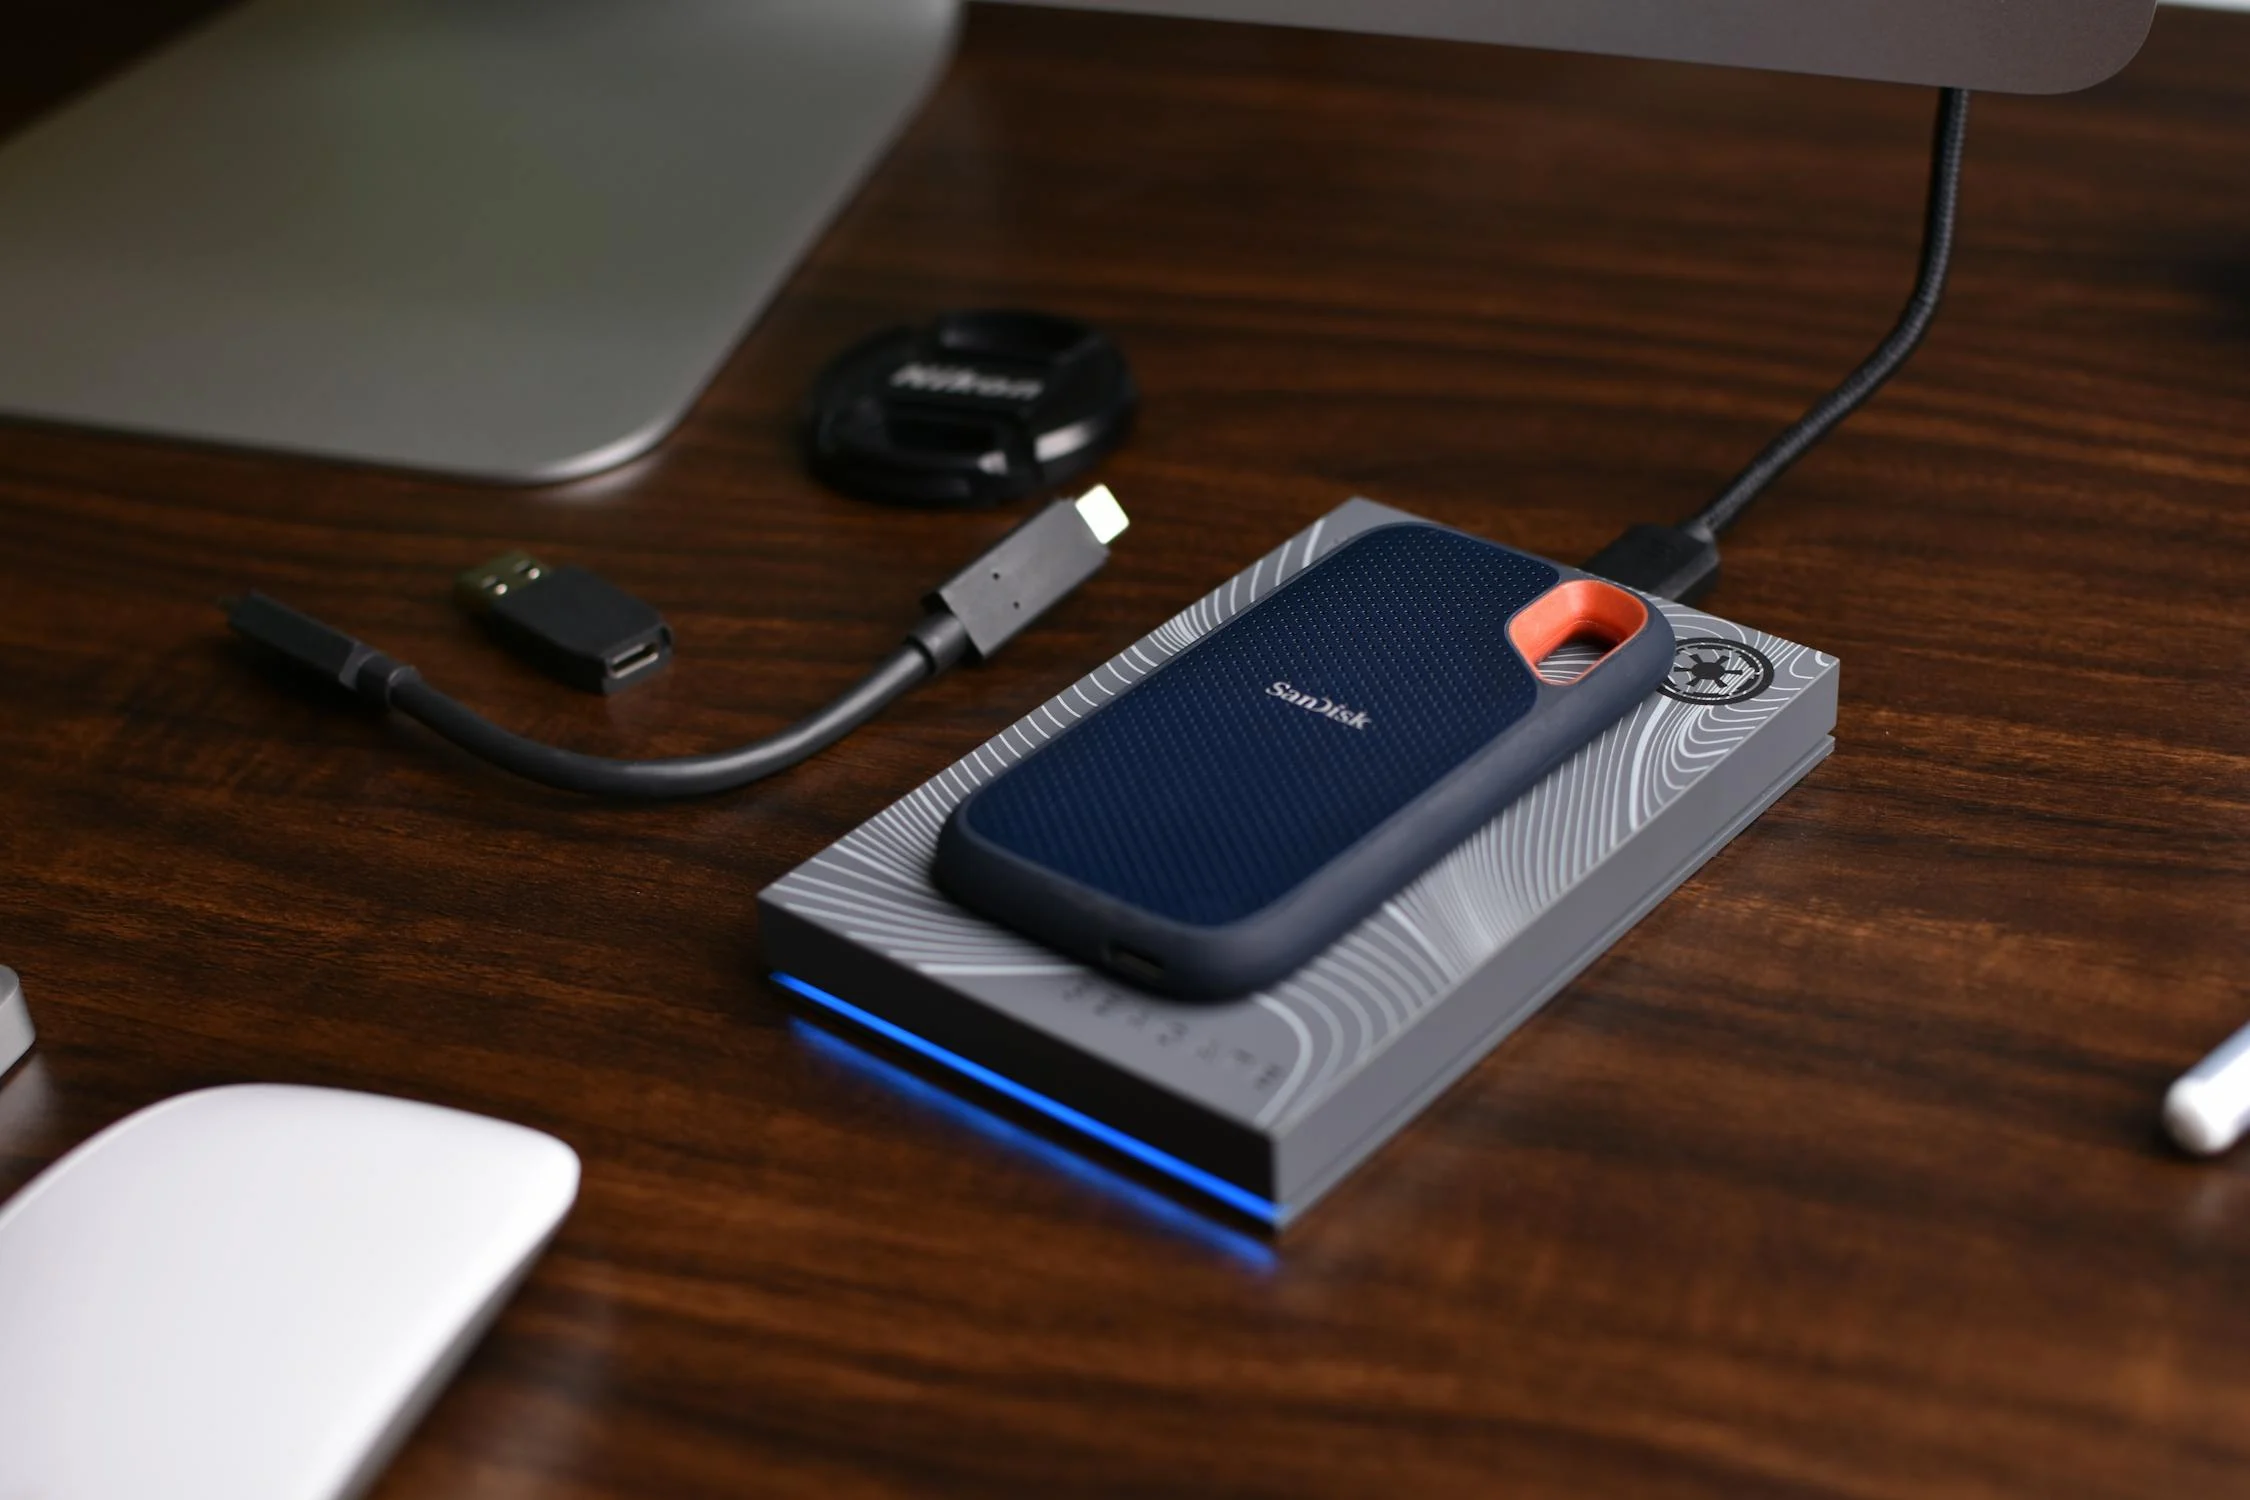
When a problem occurs, you can then get your PC up and running by restoring the entire image. Before you start, you will have to set up a source that you will save your image back up on. The best options are an external hard drive or a NAS (network-attached storage) drive.
Regardless of your external drive, make sure it’s formatted in NTFS before continuing. There’s a good chance your system image backup will be quite large, so you’ll want to have plenty of space on it as well. Let’s get started.
Whenever your computer starts to get issues that are too hard to solve, knowing how to back up your Windows PC is a good idea. Don’t wait until your PC starts to have catastrophic failures, the best time to back up your computer is always now. The System Image Backup is a great and free tool for creating a Windows backup and is ready to use right away.
How To Create a System Image Backup
A convenient way to find system image backup settings is through the Control Panel. You can use the Windows search bar to type Control Panel, then select it from the results to open it. Set your Control Panel view to “Large Icons” or “Small Icons”. Now select Backup and Restore (Windows 7).
The Backup and Restore tool will scan your system for external drives when you first open it. You can then decide what storage drive you want to save the image. The tool will only back up your system drive by default. You can also include other drives in your computer, but remember that this will add to the size of the final system image. It is a good idea to create separate image backups for each drive for this reason. Click Create a system image, then choose which external drive you want to save the backup in. Click Next.
Choose Your Partition
Choose which partitions of your storage drive you want to include in the image backup, then click Start Backup. Windows will now create the image file and save it to your preferred external drive. The backup will take some time depending on how big the installations are and the speed of your drives. SSDs will usually be much faster than regular hard drives when creating an image backup.
You can still use the drives while it’s happening, so continue using your system as normal. You’ll see a progress meter while the tool is creating your image backup. Don’t forget to disconnect your external drives once the backup is complete.
Create a System Repair Disc
If you have a Windows installation disc, you can boot from it and restore a system image. The system repair disc is based on your PC’s Windows edition, so you can use it to repair any computer whose Windows version matches the repair disc version. It is good to have a system repair disc handy for emergencies just in case Windows isn’t able to boot up on its own. Because this feature still doesn’t support USB drives, you will need to have an optical drive.
To make one, click the “Create a system repair disc” button under the Backup and Restore (Windows 7) tool. Choose Yes if your system has an optical drive. If you don’t have one, select No, then Close. If you have a PC without a disc drive, you can always purchase an external USB DVD drive later. Insert a blank (unformatted) DVD into your drive and click “Create a system repair disc”. Check that your DVD drive is recognized by the computer, then click “Create disc”.
Windows will begin to create your system repair disc. Since it’s not copying system files, the process will not take long to finish. When the system repair disc is created, read the important information presented so you can understand its use. When you’re ready, click close and eject the disc.
How To Restore Your Backup Image
Life is unpredictable, so you never know when your computer will have a data failure or need access to data you’ve accidentally deleted. Thankfully, restoring the backup is not more difficult than making the backup in the first place.
Before you start, make sure to connect your external drive containing the system backup to your computer. If you’re still able to, turn on your PC. If you use Windows 10, go to Settings > Update & Security > Recovery and click Restart Now, which is under Advanced Startup. For Windows 11, open Settings > System > Recovery and click the Restart Now button next to Advanced Startup.
If Windows won’t boot, start your PC with the system repair disc you recently created. Turn your computer on and immediately press the F8 key multiple times until the boot devices menu appears. In the boot devices menu, choose the optical drive that contains the Windows system repair disc that you created.
In the Choose an option window, go to the Troubleshoot menu. Next, go to “Advanced Options”. Now click “See more recovery options”, and then “System Image Recovery”.
Windows should automatically detect the system image that you created. Click Next to continue.
If it doesn’t see it, click Select a system image and pick the system backup you want to use.
Choose your keyboard layout, and select “Restore your computer using a system image that you created earlier” in the System Recovery Options window. Select a system image backup from your external drive, then go through the rest of the wizard to restore that image you made to put your computer in a healthy state again.
Conclusion
This functionality was made for Windows 7, but this tool still works in both Windows 10 and Windows 11. This feature is one of the best ways to create an image backup for your Windows PC for free. This free backup method creates an entire image file of Windows 10 or Windows 11, which can then be safely stored elsewhere. Before spending a lot of money on premium backup software, you should try this method.


It is actually a nice and useful piece of info. I am satisfied that you simply shared this useful info with us. Please keep us up to date like this. Thank you for sharing.